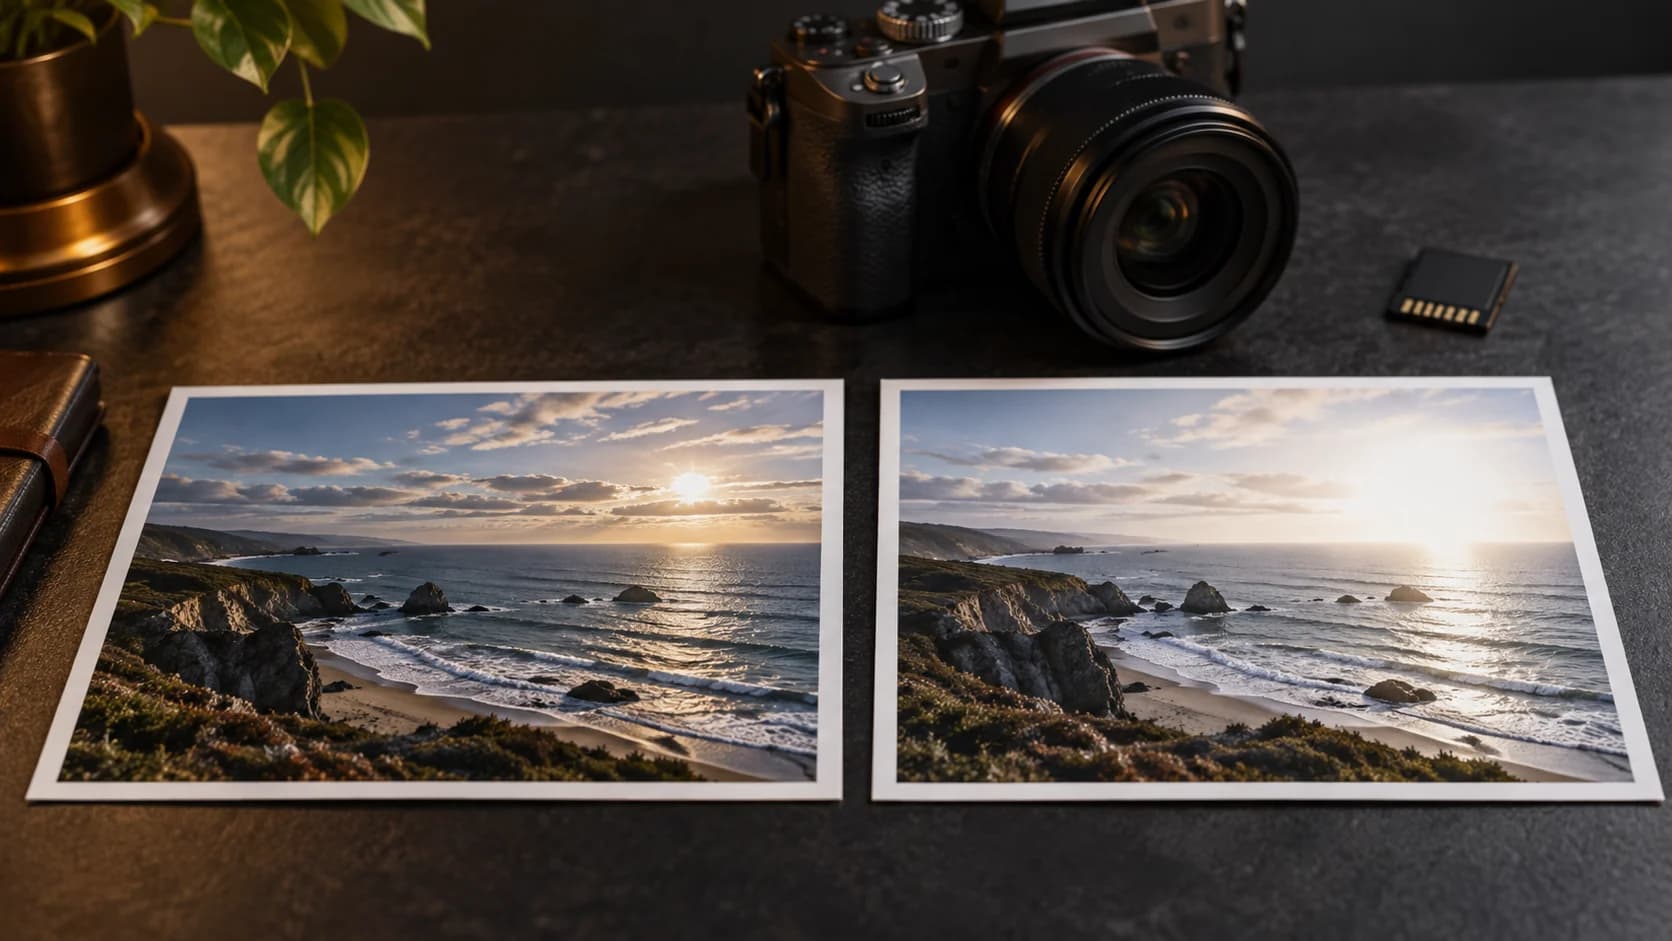

Yes, many overexposed photos can be improved. The important question is not whether the image looks too bright on your screen. It is whether the brightest areas still contain color, texture, or tonal information that an editor can work with.
An overexposed photo has received more light than the scene or camera settings could record comfortably. A correction can bring the overall brightness down, recover detail from bright tones, and make the subject easier to read. It cannot reveal exact texture from a pixel that was recorded as pure white.
Overexposure is not always the same problem
There are three useful levels to distinguish when you inspect a bright photo.
First, an image can be globally too bright while still holding plenty of information in the highlights. This is often the easiest case. Lowering Exposure, Highlights, or Whites can bring back a more balanced appearance without changing the scene.
Second, only part of the frame may be overexposed. A portrait might have a readable face but a white sky. An indoor photo might have a good subject beside a clipped window. Local masks or an AI correction can target the bright region without making the rest of the photo muddy.
Third, some areas may be completely clipped. If all three color channels reach white, the original color and texture are no longer stored in that pixel. A normal exposure slider cannot recover what was never recorded. An AI tool may generate a plausible transition or surface, but that generated detail is an interpretation, not verified recovery of the original scene.
How to check whether a photo can be recovered
Start with the original file rather than a screenshot or a heavily compressed copy. Zoom into the brightest part of the image and look for small changes in tone. A white shirt with visible folds has more useful information than a shirt that is a single flat white shape. A bright sky with faint blue or cloud texture has more recovery potential than a completely empty white rectangle.
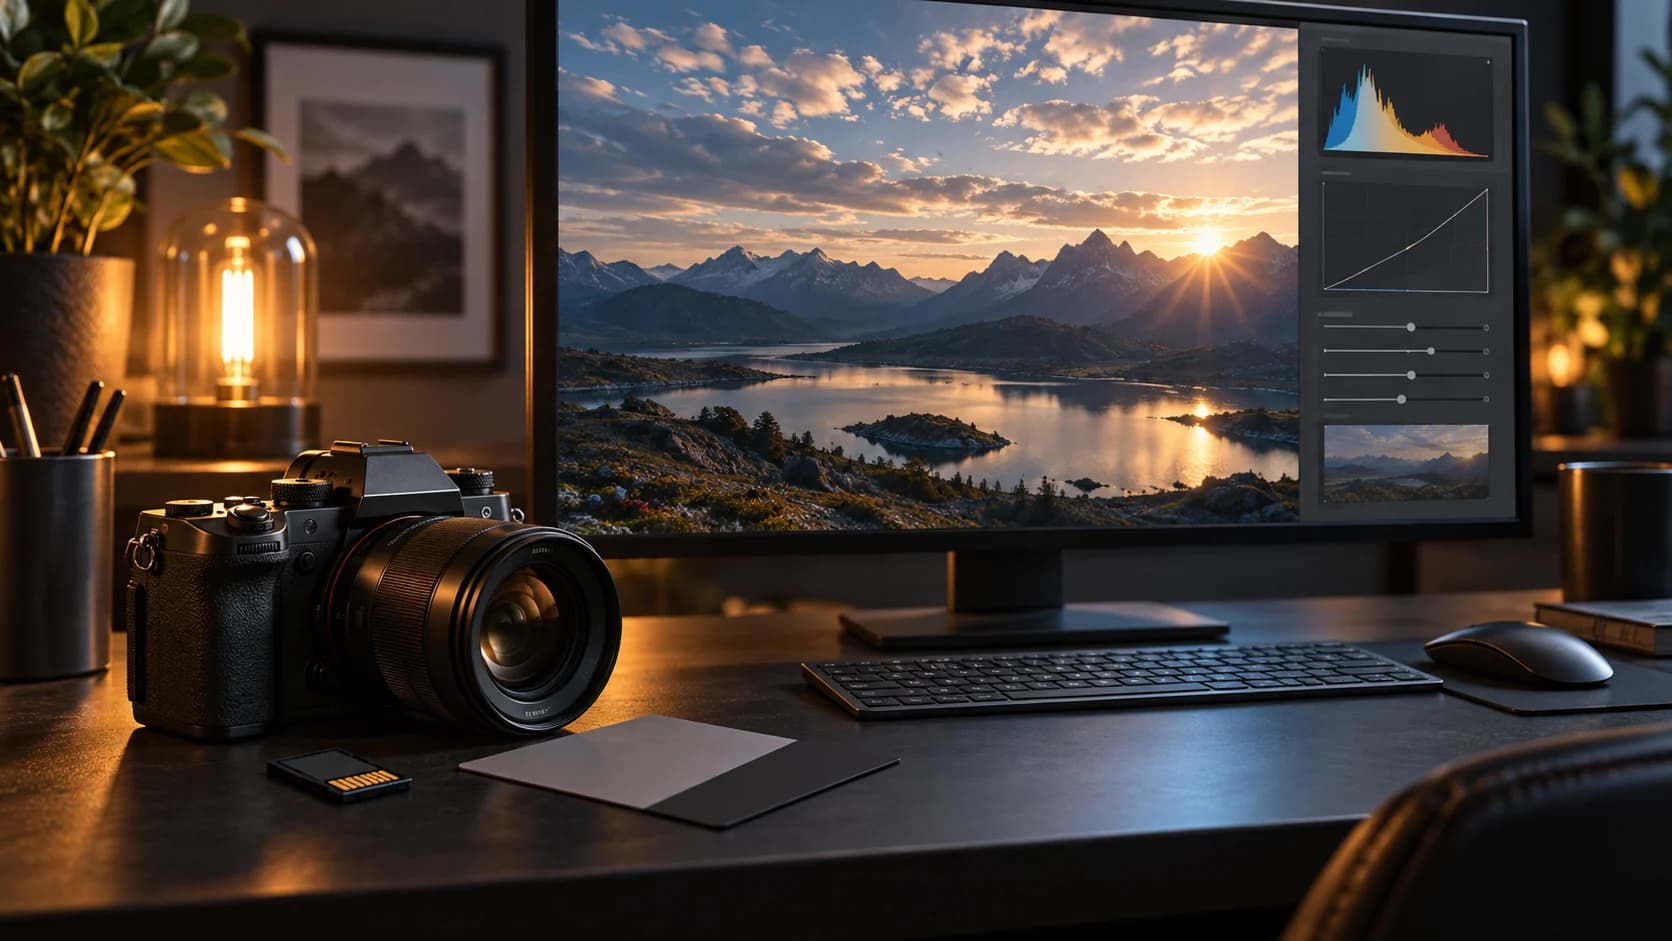
If your editor provides a histogram, check the right edge. A spike pressed against the edge is a warning that highlights may be clipped. The histogram is useful, but it is not the only test: a small clipped sun or reflection may be acceptable, while a clipped face, product label, or important text may not be.
A practical correction workflow
- Keep the original untouched. Work on a copy or use a reversible editing workflow.
- Reduce global Exposure only when the entire frame needs to come down.
- Lower Highlights and Whites to recover bright tonal information.
- Use a local adjustment for a sky, window, face, or reflective surface.
- Check skin, text, edges, and shadows after the correction. A photo can look less bright while still looking unnatural.
- Compare the result with the original before exporting.
For a quick AI workflow, FixOverexposed AI can generate a corrected version for comparison. Upload the best source you have, review the before-and-after result, and treat reconstructed areas carefully when accuracy matters.
When AI is useful
AI is most useful when a simple brightness adjustment is not enough. It can help create a smoother transition around a blown highlight, balance a difficult backlit scene, or make a washed-out portrait easier to evaluate. This can be helpful for travel photos, event images, outdoor portraits, and scenes with a bright window or reflective surface.
AI should not be treated as proof that a lost detail has been recovered. Review faces, logos, product edges, documents, and text closely. If the image is important evidence or must match the original scene exactly, retain the original and use the corrected version only when its interpretation is acceptable.
The best correction is usually the one that restores the subject and lighting without making the entire image gray. If you want to learn the manual controls for a specific editor, continue with the Lightroom checklist, the iPhone workflow, or the Snapseed guide.