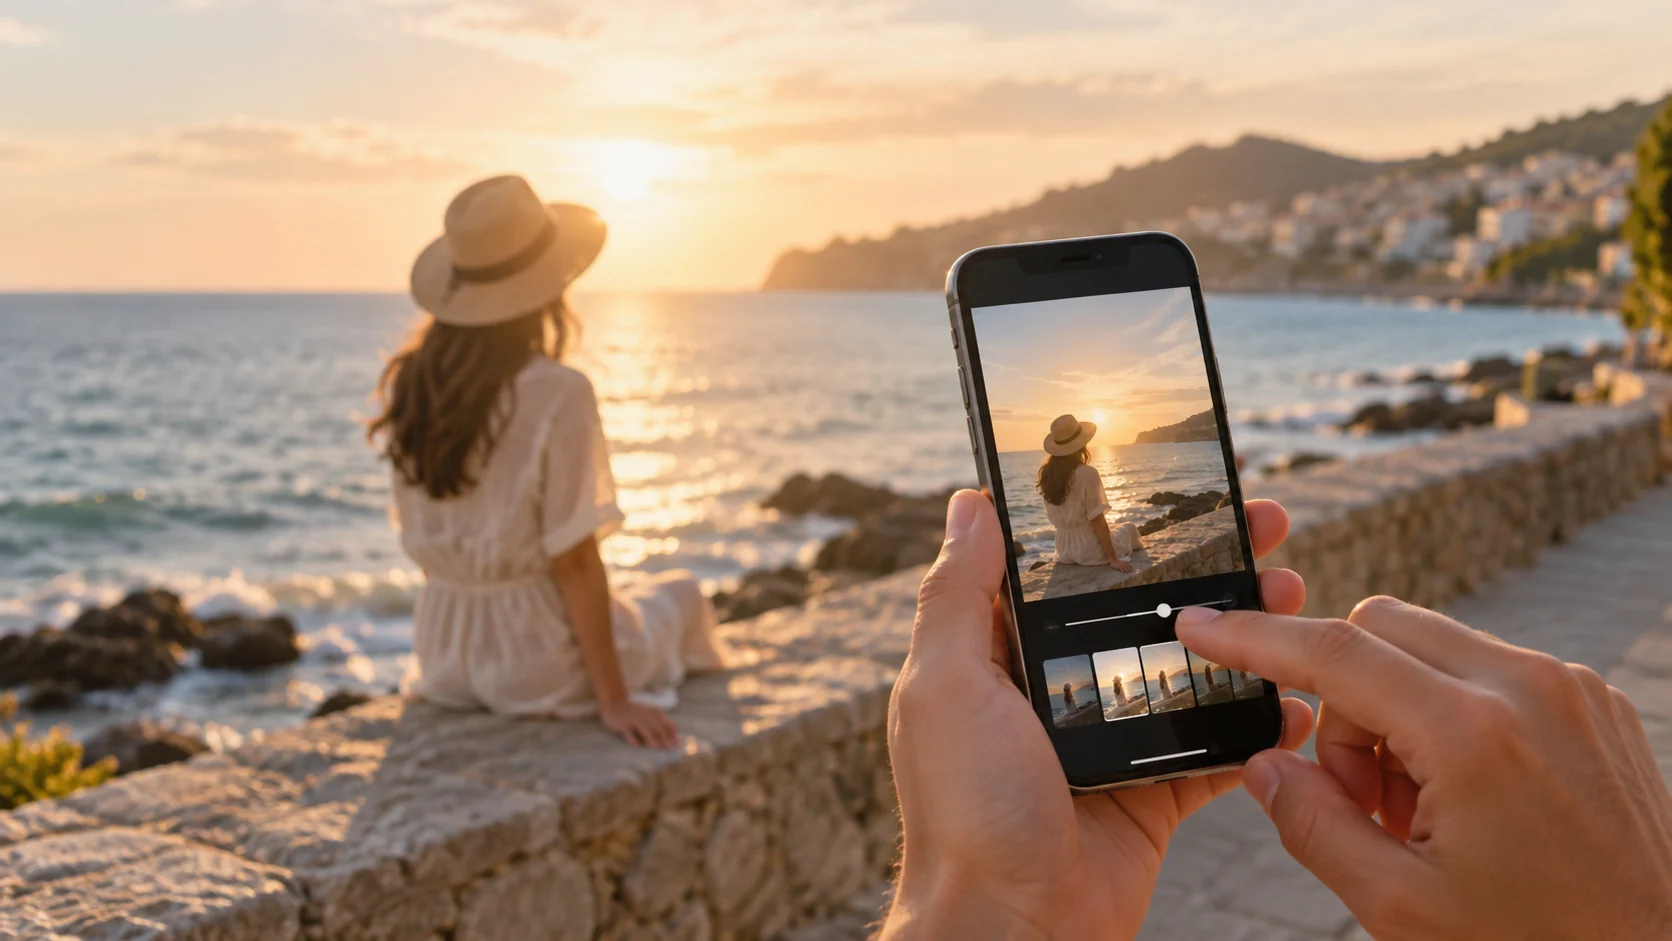
You can fix many bright iPhone photos directly in Apple Photos. The key is to make small changes and judge the subject as well as the sky or background. A photo that is technically darker is not necessarily better if faces become gray, shadows collapse, or the lighting no longer feels natural.
Keep the original safe
Open the image in Photos and tap Edit. Apple Photos is designed for reversible edits, but it is still good practice to keep the original available. Do not replace the only copy with a screenshot or an aggressively compressed export.
If the image is important, duplicate it first or make sure you know where the Revert control is. This gives you a clean comparison point while you experiment with the correction.
Adjust Exposure and Highlights gradually
Start with Exposure only if the entire image is too bright. Move the control a small amount and watch the main subject. If the face or foreground already looks reasonable, avoid using Exposure to fix only a bright sky.
Next, try Highlights. This adjustment is often more targeted at bright tones than a global exposure change. Lower it slowly until clouds, skin, clothing, or bright walls look less washed out. If the brightest points remain harsh, use Brilliance or the Whites control, when available in your Photos version, with care.
The names and layout of editing controls can vary slightly across iOS versions, but the principle is consistent: make the smallest change that improves the important area, then compare with the original.
Balance the subject after darkening highlights
After reducing bright tones, check whether the subject now looks too dull. A small adjustment to Brilliance, Shadows, or Contrast can restore separation without making the whole image bright again. Avoid pushing Saturation just to make a washed-out photo feel stronger; unnatural color can hide an exposure problem instead of solving it.
For a portrait, inspect skin, eyes, hair, and white clothing. For a beach or travel image, compare the sky and water with the face or foreground. For a photo taken through a window, make sure the subject still reads before you chase detail in the glass or outside scene.
When an iPhone edit is not enough
Apple Photos is effective for light to moderate corrections and simple local problems. It is less suitable when a large clipped area needs a believable transition, or when a complicated scene needs separate treatment for the face, sky, and background.
In that situation, you can upload the best source to FixOverexposed AI and compare its result with the original. AI may create plausible detail around a blown highlight, but it does not know the exact texture that a completely white pixel originally contained. Review faces, text, products, and documentary details before you keep the result.
Save a result you can explain
Before tapping Done, compare the edited image with the original. Ask three questions:
- Is the main subject easier to see?
- Do the brightest areas look controlled without looking gray?
- Does the light still appear to come from the same direction?
If the answer to any question is no, undo the last change and try a smaller adjustment. Save the corrected image as a separate export when you need to share it, and keep the original for future editing.
For a desktop workflow, continue with the Lightroom guide. For a more detailed explanation of clipped pixels, read Can Overexposed Photos Be Fixed?.