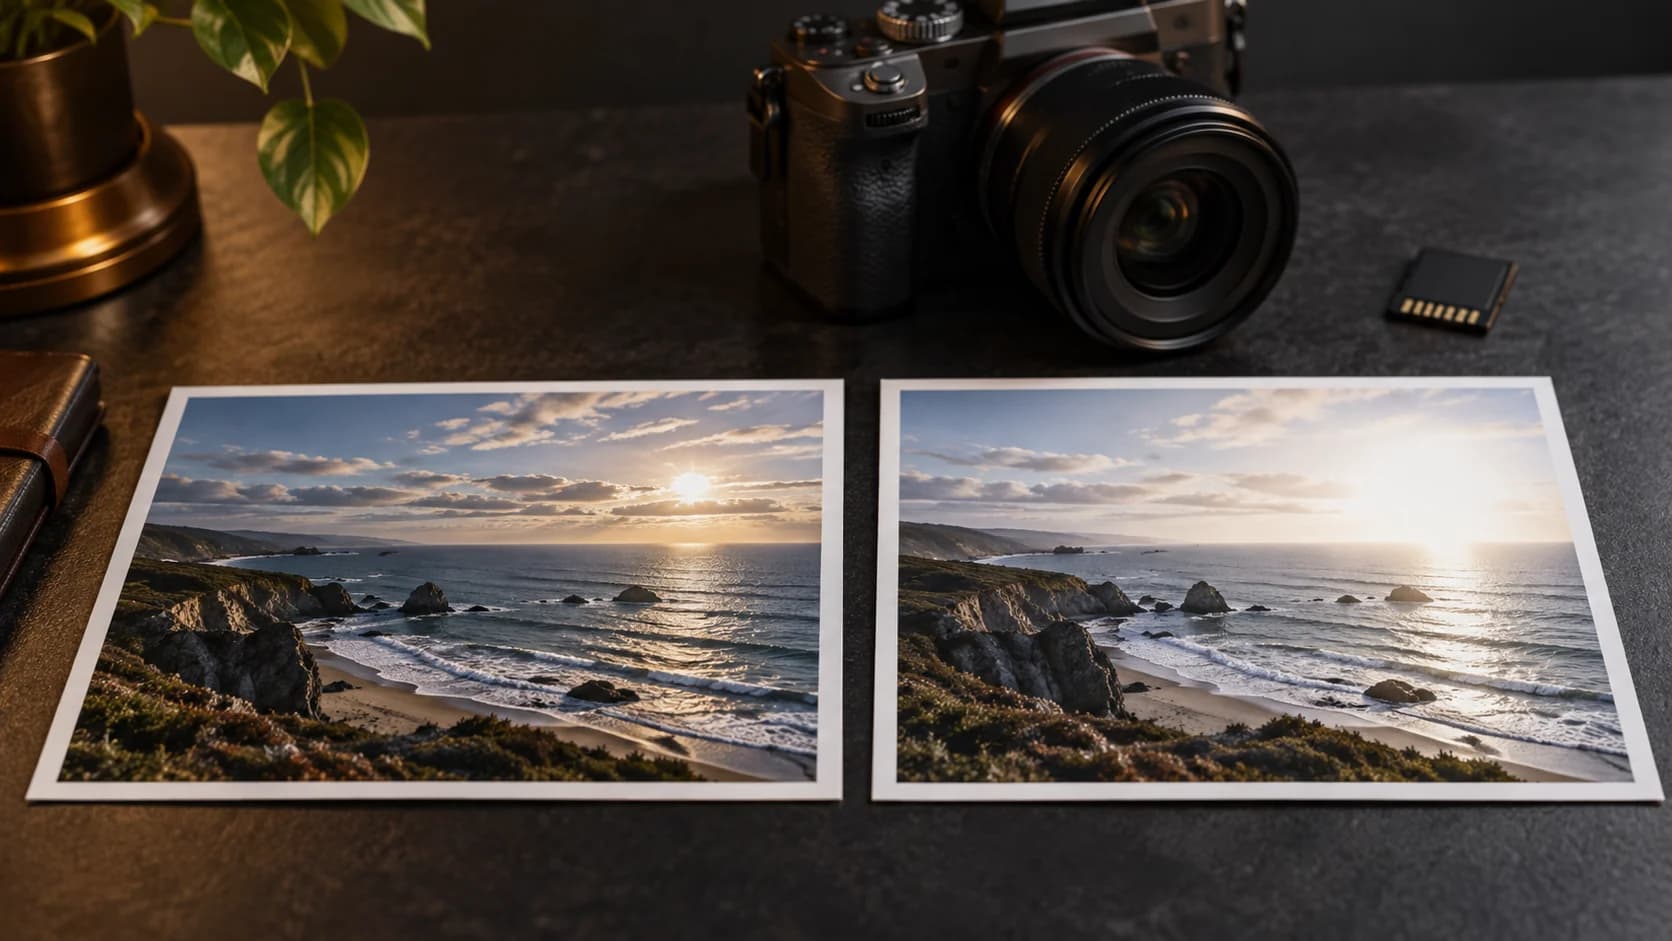

Photoshop can improve an overexposed photo when the source file still contains some tone, color, or texture in the bright areas. The safest workflow is non-destructive: keep the original layer, make exposure changes in Camera Raw or adjustment layers, and use a mask when only part of the frame is too bright.
Photoshop cannot recover the exact detail from pixels that were recorded as pure white. If an important area is completely clipped, you can improve the transition or create a plausible visual interpretation, but keep that distinction in mind when accuracy matters.
Keep the original layer safe
Open the highest-quality version of the photo. A RAW file usually gives you more highlight flexibility than a finished JPEG, but a JPEG can still benefit from a controlled correction.
Duplicate the background layer before editing, or convert it to a Smart Object
so filters remain editable. Rename the working layer something clear such as
Highlight correction. This makes it easier to compare the result with the
original and undo a change that makes the image look dull.
Start with Camera Raw Filter
Choose Filter, then Camera Raw Filter. Begin by checking the histogram and the brightest part of the frame. If the entire photo is too bright, lower Exposure slightly. If the subject already looks balanced, leave Exposure close to its starting value and work on the bright tonal ranges instead.
Try this order:
- Lower Highlights to soften bright but recoverable areas.
- Reduce Whites gradually if the brightest tones still look harsh.
- Adjust Exposure only enough to keep the overall scene believable.
- Use Contrast after the highlights are under control.
- Raise Shadows carefully if the correction makes the subject too flat.
Make small moves and pause after each one. A large Exposure reduction may darken a face, foreground, or white clothing even though it makes the sky look better. The goal is a natural balance, not a uniformly dark image.
Use Curves for finer tonal control
Add a Curves adjustment layer when the global sliders are not precise enough. The upper-right part of the curve affects brighter tones. A gentle downward move there can reduce harsh highlights while leaving midtones more readable.
Avoid pulling the curve down aggressively. That can create gray skin, dirty whites, and a muddy overall result. If only the sky, window, or flash reflection needs attention, use the adjustment layer's mask instead of changing the whole frame.
Correct only the overexposed area
Select the Curves or Exposure adjustment layer and add a layer mask. Paint with white on the area that needs correction and black where the original exposure already looks right. Use a soft brush and a low opacity so the transition stays gradual.
Zoom in around hair, shoulders, building edges, and the horizon. A hard mask can create a visible halo that looks less natural than the original photo. For faces, protect eyes and important features. For products or screenshots, inspect labels, text, and straight edges before exporting.
Know when generated detail is different
Photoshop tools can reveal information that remains in the file, but they do not prove what was present in a pure-white region. Generative tools may create a convincing sky, fabric texture, or background transition. Treat that result as generated content rather than verified restoration, especially for records, documents, evidence, or product images.
When a global Photoshop adjustment still leaves an important highlight empty, you can compare another result with FixOverexposed AI. Review the generated image against the original before deciding which version to keep.
Compare before exporting
Hide the adjustment layers or use the original background layer to compare the before and after views. Check the brightest area, the main subject, skin tones, shadows, and the overall direction of light. If the image has become gray or flat, reduce the strength of the adjustment instead of adding more saturation.
Save an editable PSD when you may need to refine the mask later. Export a separate JPEG or PNG for sharing, and keep the untouched source file available for another correction.