
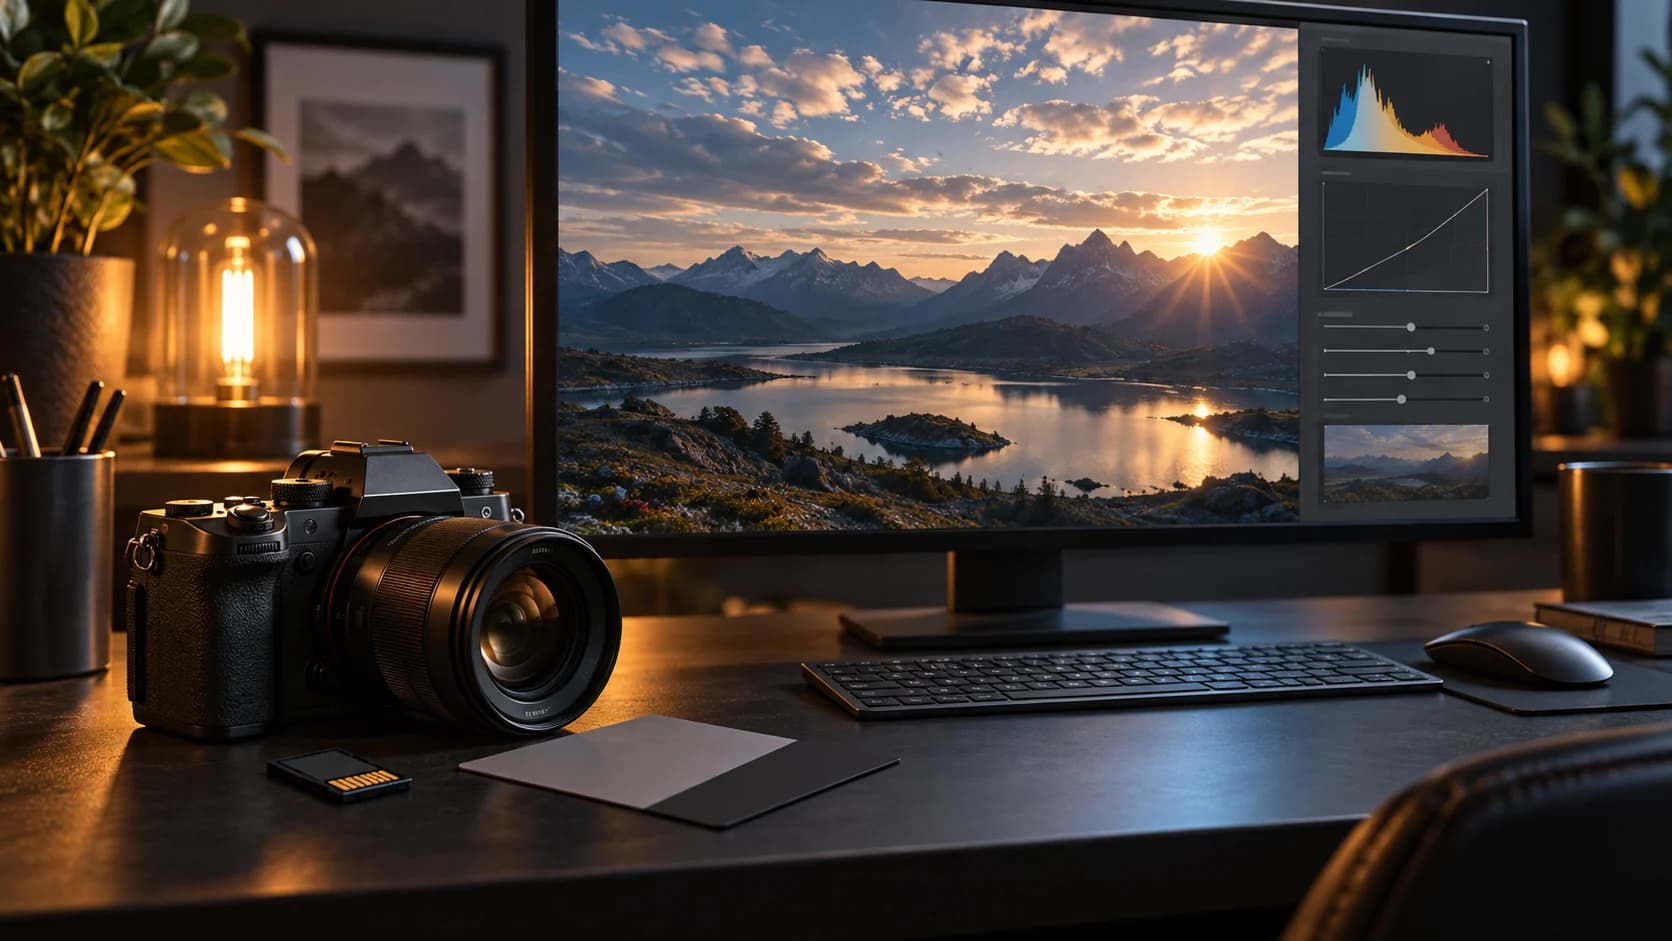
Lightroom can often improve an overexposed photo when the original file still contains some highlight information. The most reliable workflow is gradual: start with the histogram, adjust the brightest tones before changing the whole image, and use a mask when only one area is too bright.
Start with the best source
Use the original RAW file whenever it is available. RAW files usually give you more flexible tonal information than a finished JPEG because the camera has not applied the same level of processing and compression. A JPEG can still be corrected, but a heavily clipped or compressed highlight may have less room to move.
Before editing, create a virtual copy or keep the original file unchanged. This makes it easier to compare the correction and return to the starting point.
Read the histogram before moving sliders
The histogram shows how tones are distributed from dark on the left to bright on the right. If the graph is pushed hard against the right edge, some bright areas may be clipped. That does not automatically mean the entire photo needs to be darkened. A small clipped reflection may be intentional, while a large white sky or face may need attention.
Turn on Lightroom's highlight clipping warning if it helps you see the affected areas. Use it as a guide rather than trying to eliminate every warning. The goal is a believable image, not a histogram with a particular shape.
Adjust the global tones in a controlled order
In the Basic panel, try this order:
- Lower Exposure slightly if the whole frame is too bright.
- Pull Highlights down to work on bright but recoverable areas.
- Reduce Whites if the brightest tones still look harsh.
- Adjust Contrast only after the highlights are under control.
- Use Shadows carefully so the subject does not become flat or gray.
Move one control at a time and pause to inspect the subject. A large Exposure reduction can make the sky look better while making the foreground too dark. Likewise, pulling Highlights and Whites too far can remove the sense of light from skin, fabric, or reflective objects.
Use masks for local overexposure
Many difficult photos are not uniformly overexposed. A bright window, sky, flash reflection, or pale shirt may need a local adjustment while the rest of the frame already looks correct.
Create a mask for the area that needs attention. Reduce its Exposure or Highlights gradually, then check the mask edge at a higher zoom. A harsh mask can create a visible halo around a person or building. If the subject is also bright, use a separate mask rather than forcing one adjustment to solve the whole image.
For a portrait, check eyes, skin, hair, and the brightest clothing. For a landscape, check the horizon, clouds, water, and foreground. For a product photo, check labels and edges before deciding that a darker result is better.
Recovering detail has physical limits
Lightroom can reveal information that is still present in the source. It cannot restore exact color or texture from a region recorded as pure white. If the file contains no usable information in an important area, an AI tool may offer a plausible visual interpretation, but you should label it mentally as generated detail rather than verified recovery.
That distinction matters for documents, evidence, product photography, and any image where the original appearance must be documented accurately. Keep the original file and export the corrected version as a separate copy.
Compare before exporting
Toggle the before view or use Lightroom's comparison view. Look beyond the sky or brightest window: check whether faces still look natural, whether shadows have become muddy, and whether the image still has a consistent light source.
Export a high-quality JPEG or the file type your workflow requires. If you need a faster second opinion, FixOverexposed AI can create a separate result for before-and-after review. It is useful when a global Lightroom adjustment leaves empty-looking highlights, but the generated result should still be checked against the original.