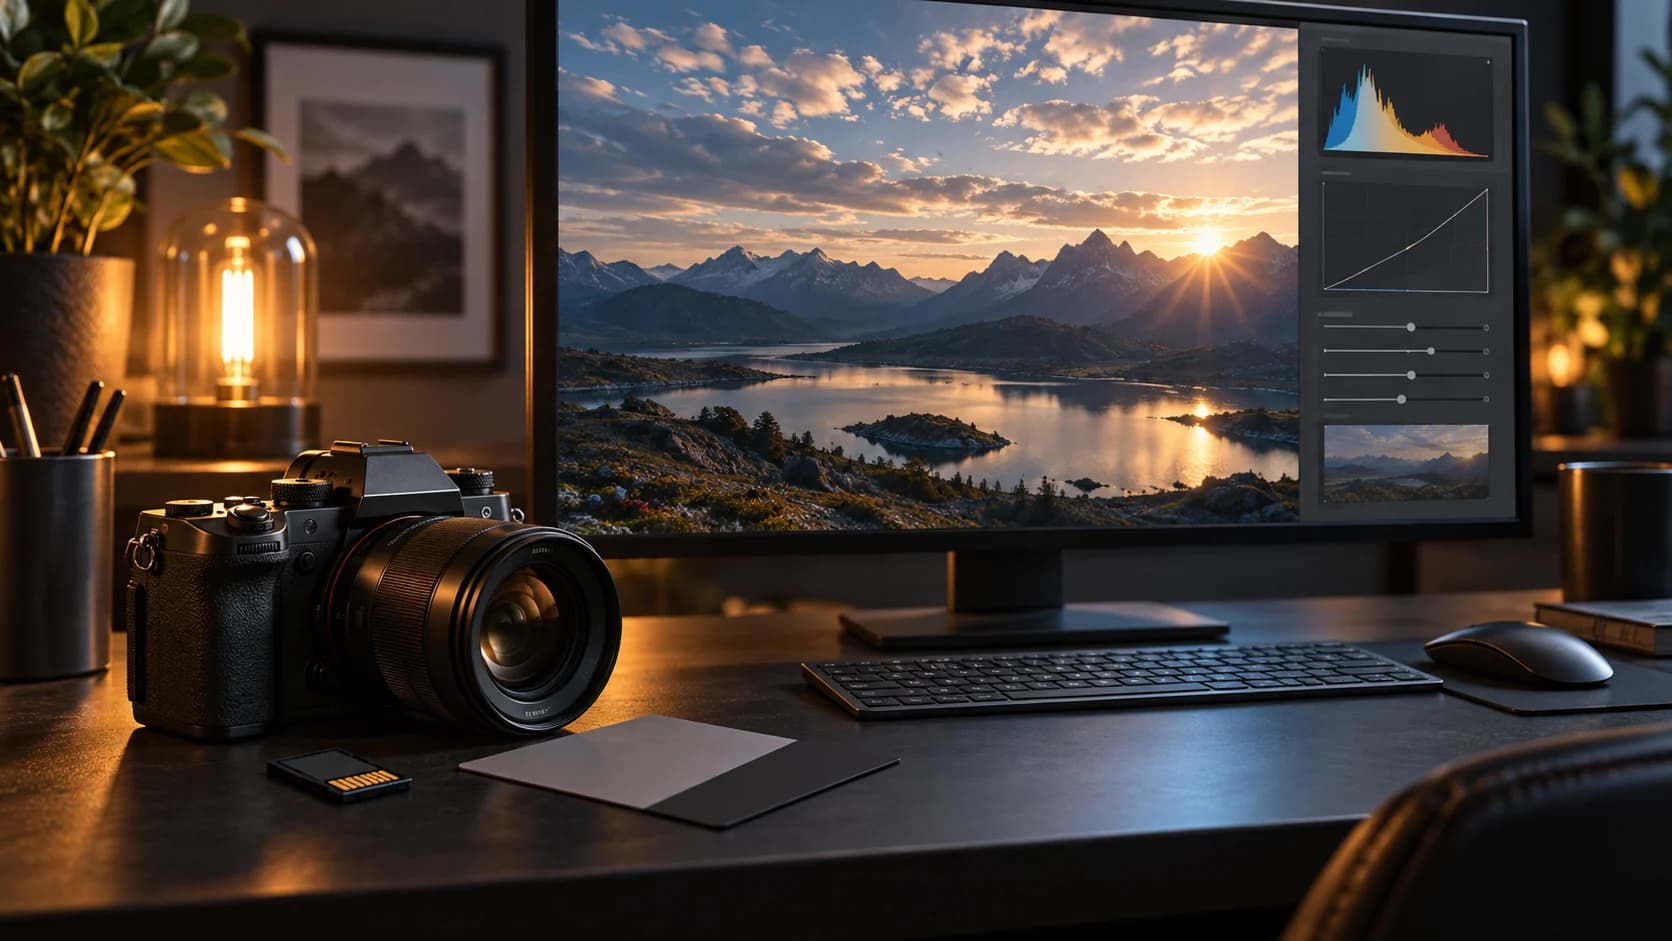
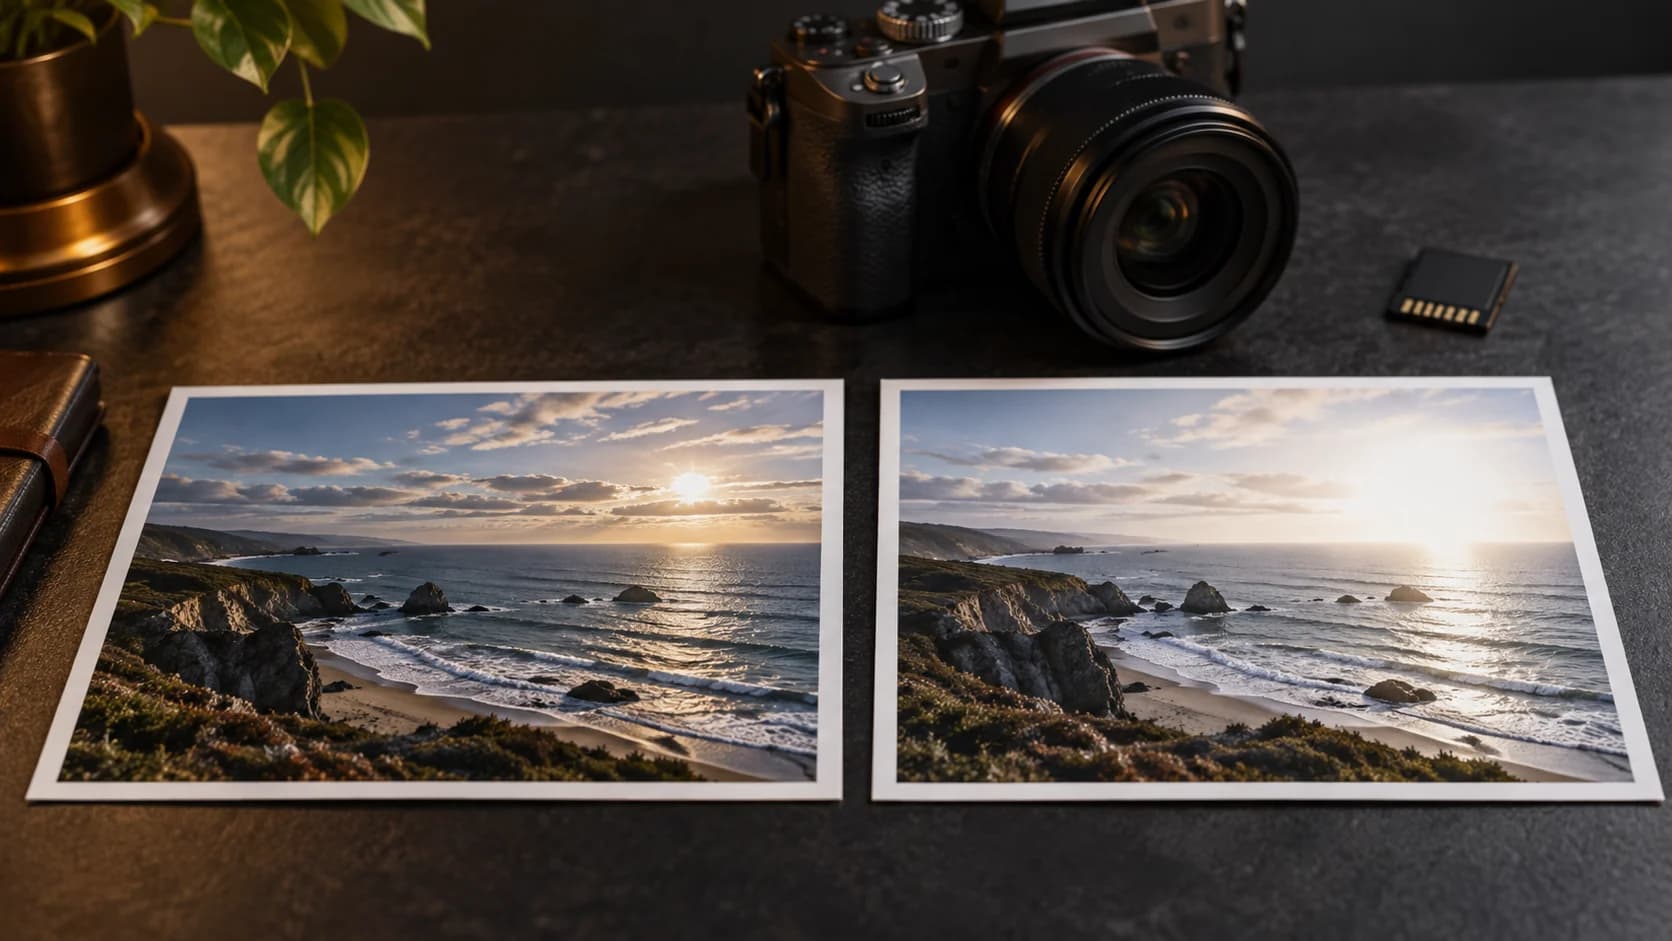
The file you start with has a major effect on how far you can correct an overexposed photo. RAW and JPEG are not simply two names for the same image. They represent different stages of the camera workflow, and they preserve different amounts of information for later editing.
Why RAW usually gives you more room
A RAW file keeps a larger amount of the sensor data before the camera applies its finished look. Depending on the camera and settings, this can leave more flexibility in bright tones, color, and white balance. When a highlight is bright but not fully clipped, a RAW editor may be able to lower Exposure, Highlights, or Whites and reveal useful tonal separation.
This does not make RAW unlimited. If the sensor recorded a region as completely clipped, no slider can restore the exact missing texture. RAW gives you more editing latitude; it does not break the physical limit of the original capture.
What happens when you edit a JPEG
A JPEG has already been processed, compressed, and saved with a finished tone and color interpretation. It can still be a perfectly useful source for correcting an overexposed photo, especially when the bright areas contain some color or texture. However, extreme adjustments may reveal banding, blocky artifacts, or flat white regions sooner than they would in a RAW workflow.
Avoid repeatedly opening and resaving the same JPEG during experimentation. Keep the original JPEG and export new versions so you do not compound quality loss.
How to choose the right source
Use this simple order of preference:
- The original RAW file, if you have it and your editor supports it.
- The original full-resolution JPEG from the camera or phone.
- A high-quality export from your photo library.
- A screenshot or messaging-app copy only when nothing else is available.
The higher-quality source gives both manual editors and AI tools a better basis for comparison. Do not upscale a tiny screenshot and assume the new pixels are original detail.
A reliable recovery test
Open the source in an editor and inspect the brightest region at a closer zoom. If you can see a cloud edge, fold, skin tone, or reflection color, make a small highlight adjustment and check whether it becomes clearer. If the region stays flat white after reasonable adjustments, it may be clipped.
You can also inspect the histogram. A hard push against the right edge is a warning, but the visual importance of the area matters more than the warning itself. A clipped lamp or sun may be acceptable. A clipped face, label, or document may make the photo unsuitable for a precise correction.
Where AI fits
An AI photo correction tool can help when the source is difficult and a normal tone adjustment leaves an empty-looking highlight. It may generate a smooth, plausible transition around a clipped region or make a backlit subject easier to evaluate. That output is an interpretation, not proof of the exact original pixels.
FixOverexposed AI lets you compare a generated correction with the original before downloading. Keep the original file, check faces and text closely, and use the result only when the generated detail is appropriate for your purpose.
For practical editor workflows, see the Lightroom checklist, the iPhone guide, and the Snapseed guide.