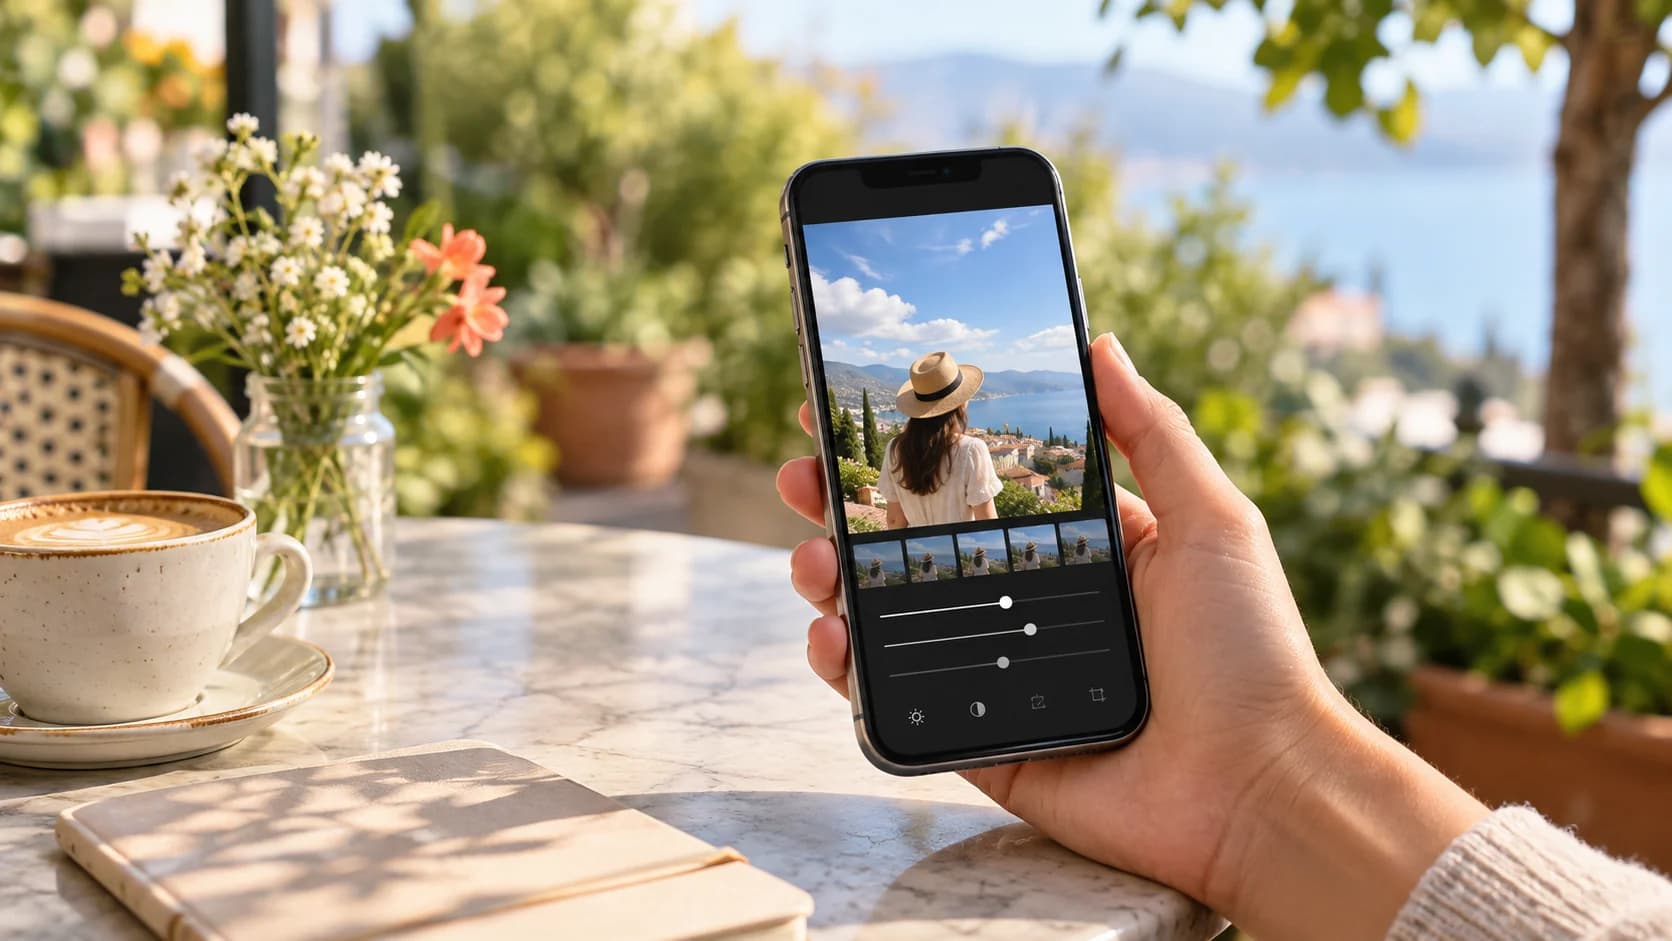
Snapseed can correct an overexposed photo without making every part of the image equally dark. Start with a gentle global adjustment in Tune Image, then use Curves, Selective, or Brush tools for the areas that need more control.
Begin with a copy and a clear reference
Open the original photo in Snapseed and keep a clean copy outside the app. Look at the brightest part of the frame before editing. Is it a pale area with some texture, or a flat patch of pure white? The first can often be improved by lowering tones. The second may only be softened or visually reconstructed by a more advanced tool.
Use Tune Image for the first pass
Open Tools and choose Tune Image. Begin with Brightness only if the entire photo is too bright. Use a small adjustment, then move to Highlights to reduce the intensity of bright regions. Ambiance can change the relationship between bright and dark tones, but avoid large moves that make the image look processed.
Keep an eye on the subject while you adjust. If a face, building, or foreground already looks balanced, a global change may do more harm than good. In that case, undo the global adjustment and plan a local correction instead.
Use Curves carefully
Curves can give you finer control over tonal ranges. A small reduction in the upper part of the curve may calm bright tones while keeping midtones readable. Do not pull the curve sharply downward just to remove every bright pixel. This can create dull skin, dirty-looking whites, and unnatural contrast.
Make one change, tap the checkmark, and compare the image with the original. The before view is especially important when the photo contains strong backlight or a bright window, because your eyes may adapt to the darker edited version.
Apply local adjustments to the problem area
Use Selective to place a control point over a bright sky, face, or background. Reduce brightness locally and adjust the affected area rather than the entire frame. Use Brush when you need to paint a correction onto a more specific region. Zoom in around the edge of the mask so the transition does not become obvious.
For a portrait, protect the eyes and important facial features. For a landscape, check the horizon and waterline. For a product or screenshot, inspect text and straight edges because a dark halo can make the result look worse than the original.
Know what Snapseed cannot recover
Snapseed can reveal or rebalance information that remains in the source file. It cannot recover the exact color and texture of pixels that were clipped to pure white. If the bright area is important and empty, an AI correction may create a plausible-looking transition, but the output should not be treated as verified original detail.
You can compare another result with FixOverexposed AI when a global adjustment is not enough. Review the generated image carefully, especially when the frame contains faces, labels, text, or a product that must remain accurate.
Export only after a before-and-after check
Before exporting, inspect the image at both full view and a closer zoom. Ask whether the subject is readable, the brightest region is controlled, and the overall lighting still feels consistent. If the image has become gray or flat, undo the last step rather than adding more saturation.
Save a new copy so the original remains available. If you want to compare file formats and highlight recovery potential, read RAW vs JPEG: What Can Be Recovered?.